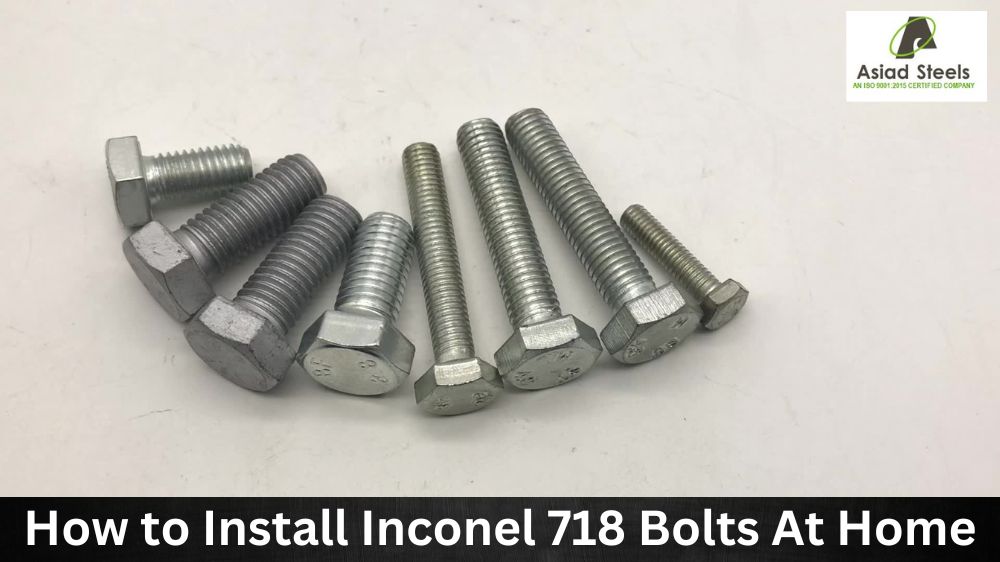
If you’re interested in installing nickel-based superalloy bolts at home and don’t know where to begin, don’t worry. This article will guide you through installing Inconel 718 bolts seamlessly. Inconel 718 is known for its excellent strength and corrosion resistance, making it perfect for various aerospace and oil and gas applications. Although installing these bolts can seem intimidating, it’s a relatively simple process you can do independently with the right tools and instructions. Keep reading to learn more.
What is Inconel 718 bolts?
Inconel 718 is an alloy of nickel, chromium, and molybdenum. It has excellent corrosion resistance, high-temperature strength and oxidation resistance properties, making it perfect for bolting applications. Inconel 718 bolts are widely used in aircraft engines due to their ability to resist extreme temperatures and corrosion from acidic exhaust gases. They are also extremely strong – they can withstand up to 350 ksi tensile strength after heat treatment – so they can last longer than standard bolts in demanding applications. Plus, the corrosion-resistant properties make them ideal for applications like chemical plants and fuel tanks where safety is paramount.
Installing Inconel 718 Bolts at Home: A Step-by-Step Guide for DIY Enthusiasts
Step 1: Prepare the bolts and tools
The first step to installing 718 bolts is ensuring you have the proper tools for the job. You’ll need a torque wrench, a socket set, and a pair of pliers. Additionally, you’ll need to ensure that you have the correct size of the bolts that you’re trying to install. Once you have all the tools in place, clean the bolts to remove any debris or dirt that may have accumulated on them.
Step 2: Apply lubrication
Before you begin the installation process, you’ll need to apply a lubricant to the bolt threads to prevent them from seizing or galling. You can use a commercial lubricant or a blend of graphite and oil to do this. Simply apply the lubricant on the bolt threads using a soft cloth until the bolt is evenly coated.
Step 3: Insert the bolts
Once you have the bolts lubricated, it’s time to insert them into the desired location. Don’t cross-thread the bolts, which can occur if you don’t properly align the bolt threads with those on the nut. Use a pair of pliers to hold the bolt firmly in place as you tighten the nut.
Step 4: Tighten the bolts
As you tighten the nut, use a torque wrench to ensure you’re applying the correct force. Not tightening the bolts enough can result in the joint failing, while over-tightening them can cause the bolt to snap or twist. Check the torque specifications for the specific Inconel 718 bolts you’re installing, and ensure that you’re using the right settings on your torque wrench.
Step 5: Check the bolts
Once you’ve installed and tightened the bolts, it’s time to check them to ensure they’re correctly installed. A loose bolt may cause the joint to fail, which can cause significant issues in industrial settings. As such, it’s vital to test bolts after installation. You can do this by performing a torque or vibration test, depending on your goal.
Conclusion
Inconel 718 bolts are incredibly durable and long-lasting, making them ideal for various applications. Their installation process may seem somewhat complicated at first. However, it’s relatively straightforward with the right tools and instructions. Following the above steps, you can install Inconel 718 bolts at home and use them to build robust, long-lasting structures. Take time while performing the installation process to ensure that you install each bolt correctly, and you’ll enjoy incredible results for years to come.

